
Marcel Wagner

Categories: Laravel ~ React Native ~ Javascript ~ PHP ~ Expo
Published on Share

Laravel Sanctum is a user-friendly authentication library from Laravel that simplifies token-based authentication. In this guide, we will use Axios to send requests from an Expo Go app to the authentication server and authenticate the user.
It's important to distinguish Laravel Sanctum from Laravel Passport or Laravel Socialite. Laravel Passport is a full OAuth2 server mainly used for creating APIs, while Laravel Sanctum offers a simpler alternative for API authentication without OAuth.
Learn more about Laravel Sanctum
You can make the process even easier with a library I developed, available here: React Native Laravel Sanctum
You can also take a look at my youtube video guiding you through the whole process (German): 🚀 React Native & Laravel Sanctum Authentifizierung
Assuming you already have a running Expo app and a Laravel app, let's proceed with the installation. If not, you can refer to their documentation on how to install them. I'm using Laravel 10, but it should work with older versions (8-10).
To install Laravel Sanctum, follow the official documentation and run the following command:
composer require laravel/sanctum && php artisan vendor:publish --provider="Laravel\Sanctum\SanctumServiceProvider" && php artisan migrate
Once that's done, we can add the necessary routes to our API. Here’s what my routes/api.php looks like. You can, of course, move the functions to their own controllers.
<?php

use Illuminate\Http\Request;
use Illuminate\Support\Facades\Route;
use App\Models\User;
use Illuminate\Support\Facades\Hash;
use Illuminate\Validation\ValidationException;

Route::middleware('auth:sanctum')->get('/user', function (Request $request) {
    return $request->user();
});

Route::post('/sanctum/token', function (Request $request) {
    $request->validate([
        'email' => 'required|email',
        'password' => 'required',
        'device_name' => 'required',
    ]);

    $user = User::where('email', $request->email)->first();

    if (! $user || ! Hash::check($request->password, $user’s password)) {
        throw ValidationException::withMessages([
            'email' => ['The provided credentials are incorrect.'],
        ]);
    }

    return $user->createToken($request->device_name)->plainTextToken;
});
We have created a route /sanctum/token, which we will use later in our Expo app. This route accepts the email, password, and device name, checking if the credentials are correct. If they are, a token is created and returned. The /user route will be used later to retrieve the authenticated user's information.
That’s all for the Laravel configuration. To protect routes, simply place them behind the auth:sanctum middleware. You can also assign Token Abilities as needed for your APIs.
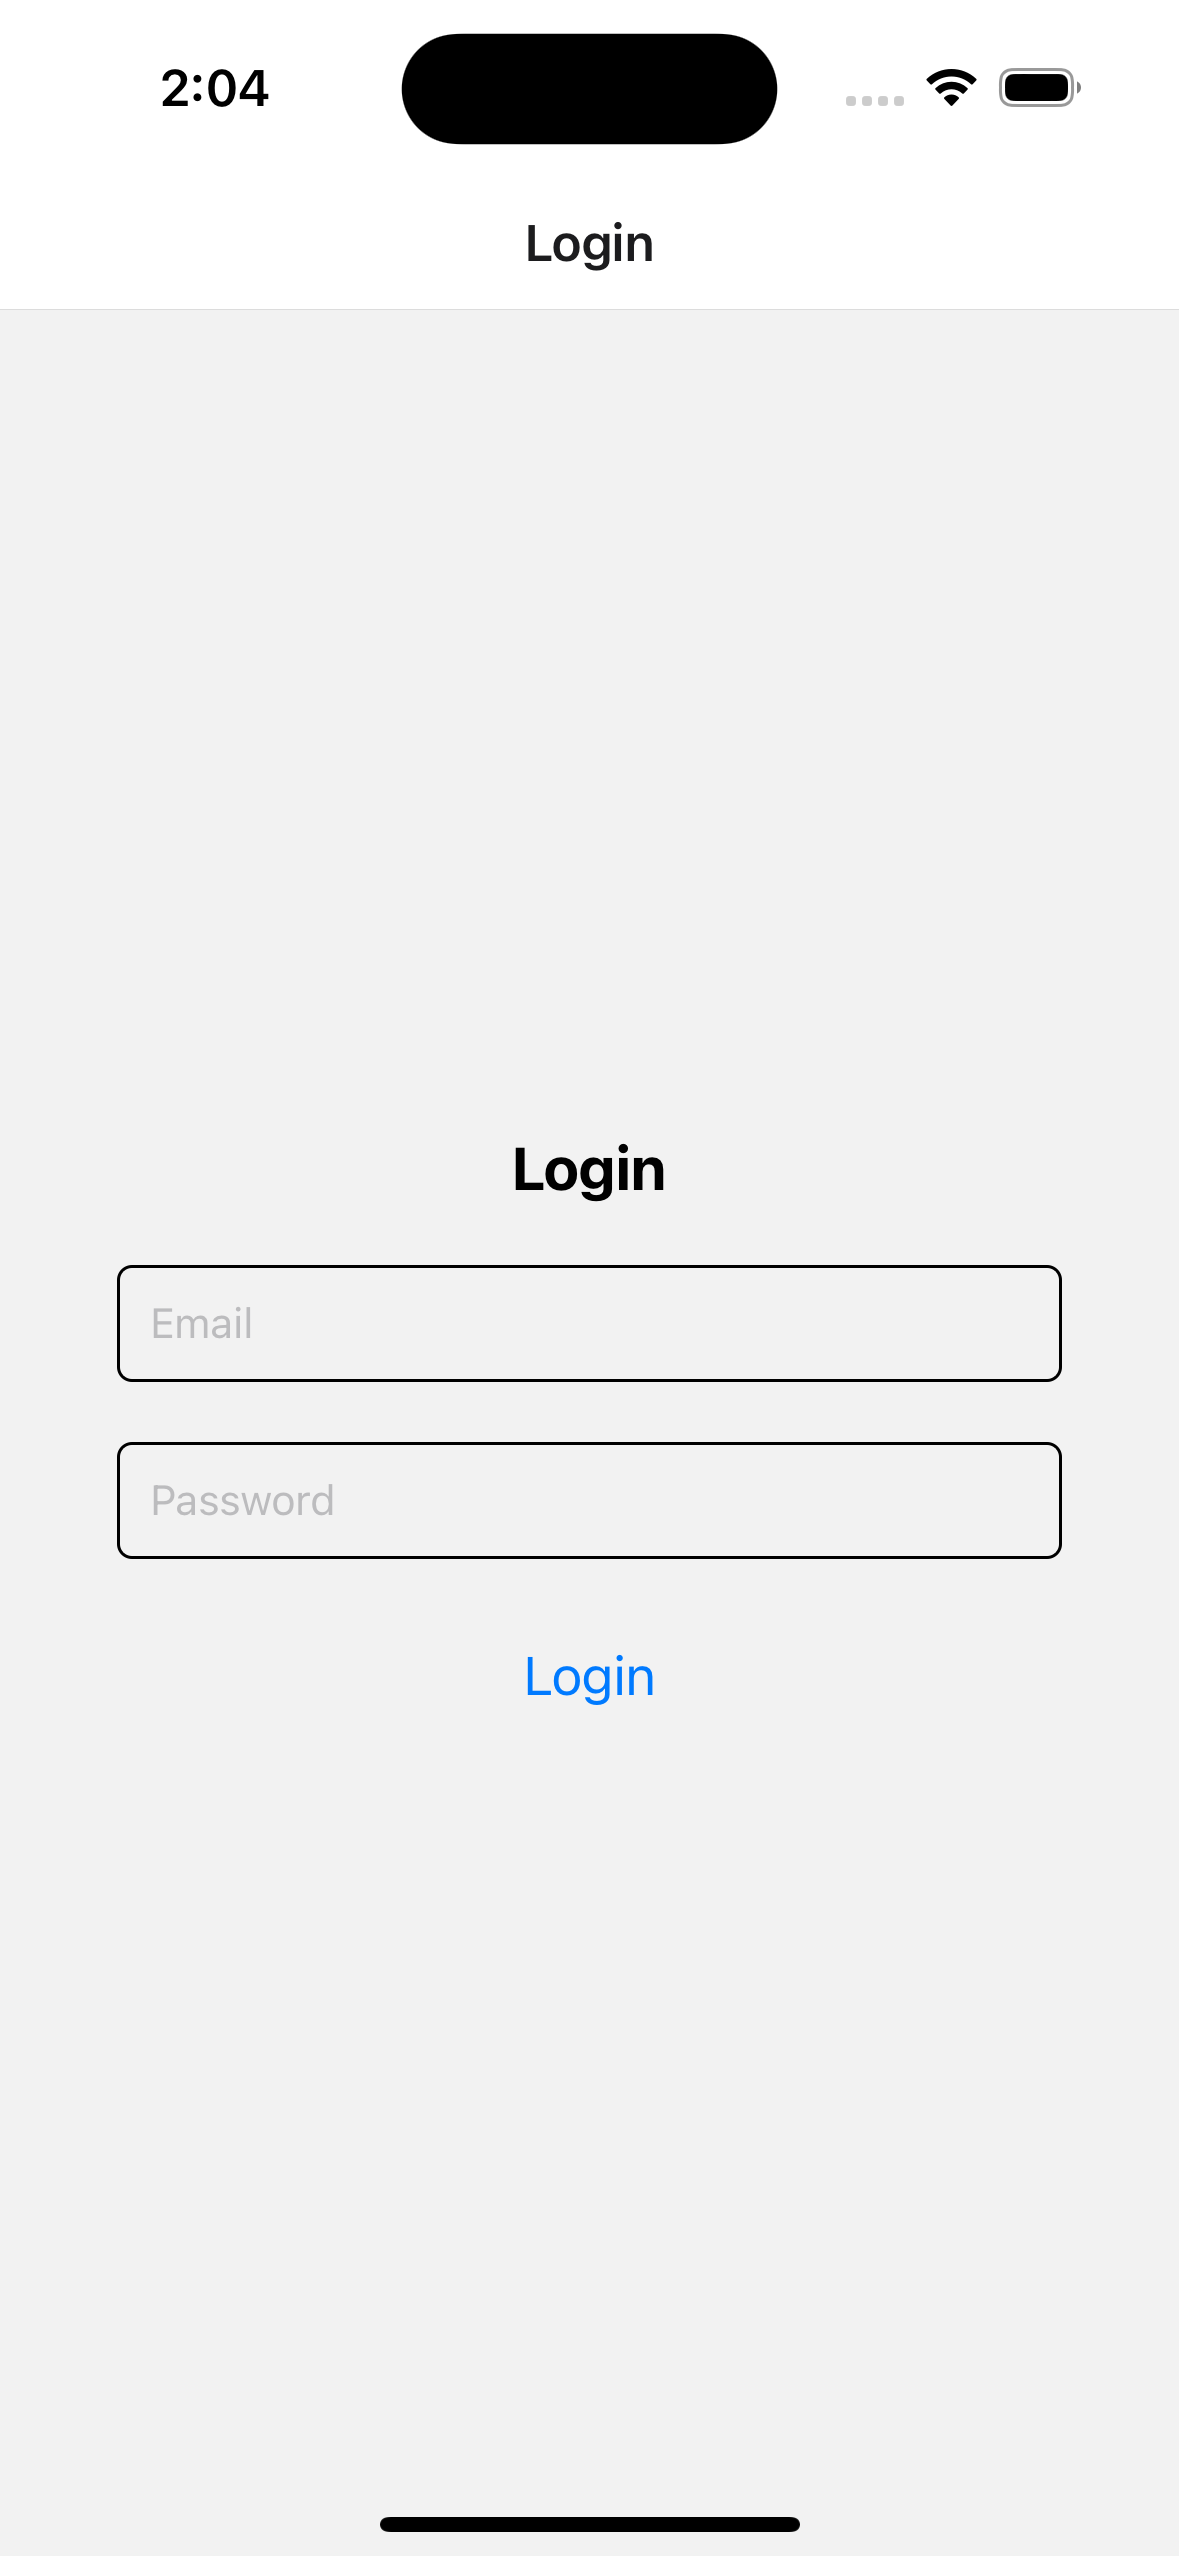
In this example, we'll assume a simple setup with a Login view and a Home view. The Login view will accept an email, password, and device name, then send them to the /sanctum/token route. If authentication is successful, the token is stored in Expo’s SecureStorage and the user is redirected to the Home view.
I’m using React Navigation for navigation between views, but you can follow the example without it if you prefer.
My App.js then looks like this:
import React, { useEffect, useState } from 'react'
import { NavigationContainer } from '@react-navigation/native'
import { createStackNavigator } from '@react-navigation/stack'
import Login from './components/Login'
import Home from './components/Home'
import * as SecureStore from 'expo-secure-store'
import axios from 'axios'

const Stack = createStackNavigator()

const App = () => {
  const [user, setUser] = useState(null)

  useEffect(() => {
    async function getUser() {
      SecureStore.getItemAsync('access_token').then((token) => {
        axios
          .get('http://127.0.0.1:8000/api/user', {
            headers: {
              Authorization: `Bearer ${token}`,
            },
          })
          .then((response) => {
            setUser(response.data)
          })
          .catch((error) => console.log(error))
      })
    }
    getUser()
  }, [])

  return (
    <NavigationContainer>
      <Stack.Navigator>
        {!user ? (
          <Stack.Screen name="Login" component={Login} />
        ) : (
          <Stack.Screen name="Home" component={Home} user={user} />
        )}
      </Stack.Navigator>
    </NavigationContainer>
  )
}

export default App
As soon as the app is loaded, an attempt is made to load the token from the SecureStorage and send it to the route /user. You definitely need to do some error handling here and inform the user about what is happening. This should all actually take place "behind" the splash screen. Expo has great documentation on this.
If the token is valid, the user is redirected to the home view because user is then set. Otherwise, the login view is displayed.
In the login view, we ask for the email address and password. We then send these to the route /sanctum/token. If the login was successful, the token is stored in the SecureStorage and the user is redirected to the home view.
Thanks to Expo, we can retrieve the content for device_name using, for example, the Expo device module.
The Login.js looks like this for me:
import React, { useState } from 'react'
import {
  StyleSheet,
  Text,
  TextInput,
  View,
  Button,
  Platform,
} from 'react-native'
import axios from 'axios'
import * as SecureStore from 'expo-secure-store'

const Login = ({ navigation }) => {
  const [email, setEmail] = useState('')
  const [password, setPassword] = useState('')

  const handleLogin = async () => {
    await axios
      .post('http://127.0.0.1:8000/api/sanctum/token', {
        email: email,
        password: password,
        device_name: Platform.OS + ' ' + Platform.Version,
      })
      .then(async (response) => {
        await SecureStore.setItemAsync('access_token', response.data).then(
          () => {
            navigation.navigate('Home')
          },
        )
      })
  }

  return (
    <View style={styles.container}>
      <Text style={styles.title}>Login</Text>
      <TextInput
        style={styles.input}
        placeholder="Email"
        onChangeText={setEmail}
        value={email}
      />
      <TextInput
        style={styles.input}
        placeholder="Password"
        onChangeText={setPassword}
        value={password}
        secureTextEntry={true}
      />
      <Button title="Login" onPress={handleLogin} />
    </View>
  )
}

const styles = StyleSheet.create({
  container: {
    flex: 1,
    alignItems: 'center',
    justifyContent: 'center',
  },
  title: {
    fontSize: 20,
    fontWeight: 'bold',
    marginBottom: 20,
  },
  input: {
    width: '80%',
    padding: 10,
    borderWidth: 1,
    borderRadius: 5,
    marginBottom: 20,
  },
})

export default Login
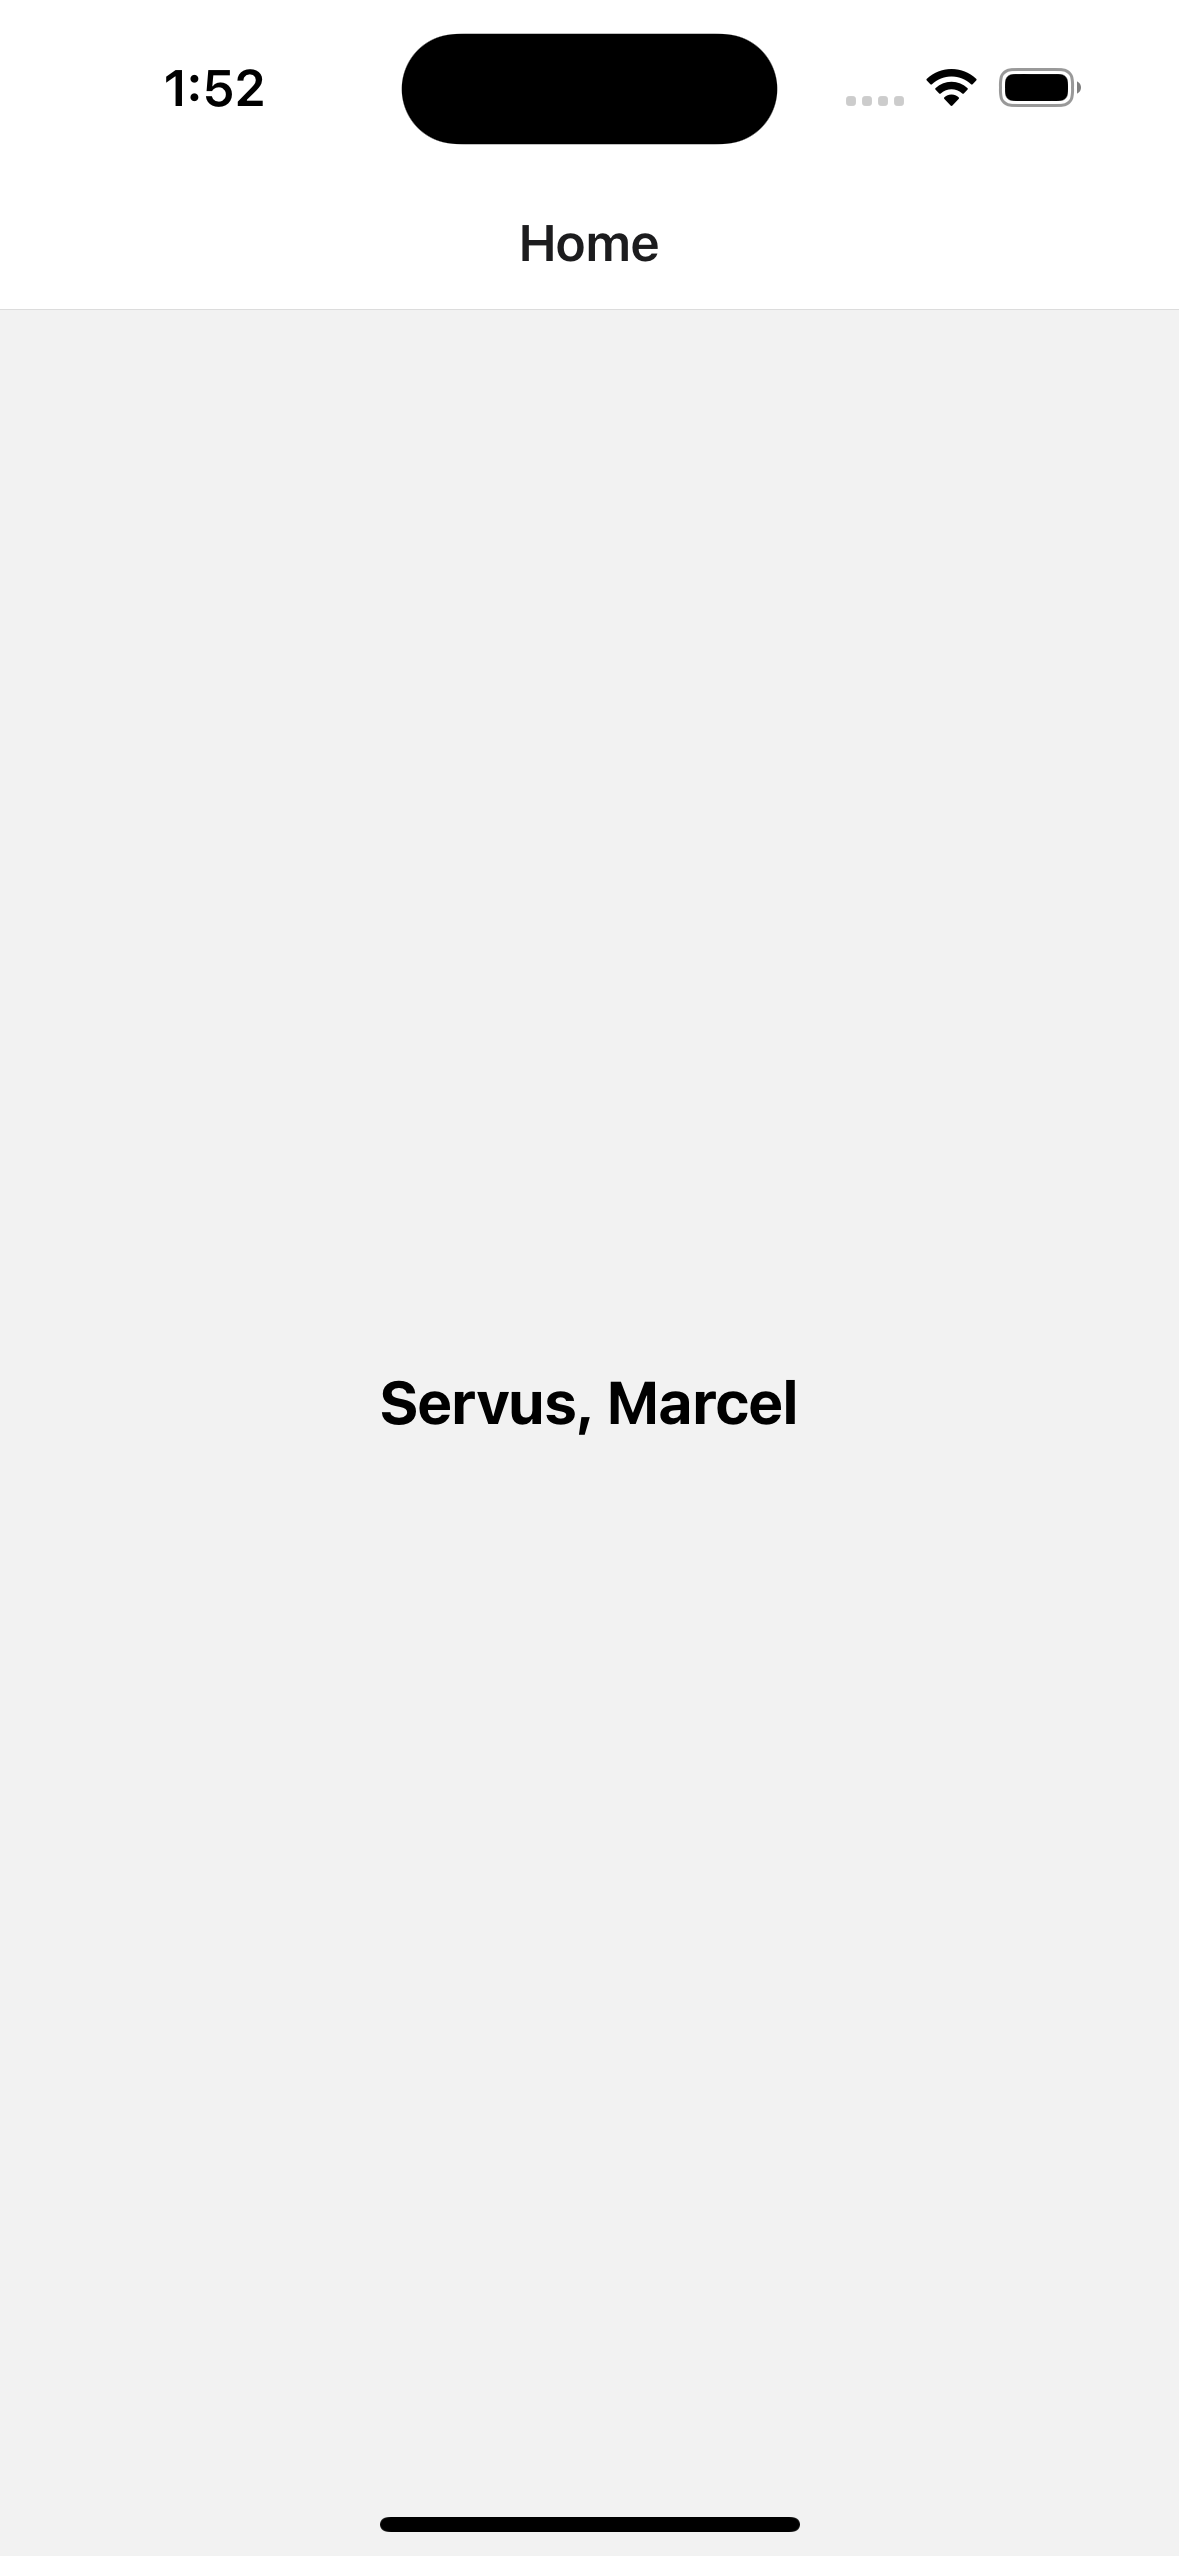
Now all we need is the home view in which we greet the user.
The user should be saved globally and not retrieved in the views.
A logout button would be useful here, which deletes the token from the SecureStorage, revokes the Sanctum token (Revoking Tokens) and redirects the user back to the login view.
The Home.js then looks like this:
import React, { useEffect, useState } from 'react'
import { StyleSheet, Text, View } from 'react-native'
import axios from 'axios'
import * as SecureStore from 'expo-secure-store'

const Home = () => {
  const [user, setUser] = useState(null)

  useEffect(() => {
    async function getUser() {
      SecureStore.getItemAsync('access_token').then((token) => {
        axios
          .get('http://127.0.0.1:8000/api/user', {
            headers: {
              Authorization: `Bearer ${token}`,
            },
          })
          .then((response) => {
            setUser(response.data)
          })
          .catch((error) => console.log(error))
      })
    }
    getUser()
  }, [])

  return (
    <View style={styles.container}>
      {user ? (
        <Text style={styles.title}>Servus, {user.name}</Text>
      ) : (
        <Text style={styles.title}>Loading...</Text>
      )}
    </View>
  )
}

const styles = StyleSheet.create({
  container: {
    flex: 1,
    alignItems: 'center',
    justifyContent: 'center',
  },
  title: {
    fontSize: 20,
    fontWeight: 'bold',
    marginBottom: 20,
  },
})

export default Home
Random posts from my blog.